How to Make an Adjustable Martingale Collar (Step by Step)
A full pattern with measurements and formulas, materials and hardware, cutting and sealing webbing, box-X stitching, adding an adjustable slide, and the two-finger safety check that makes it a limited-slip rather than a choke.

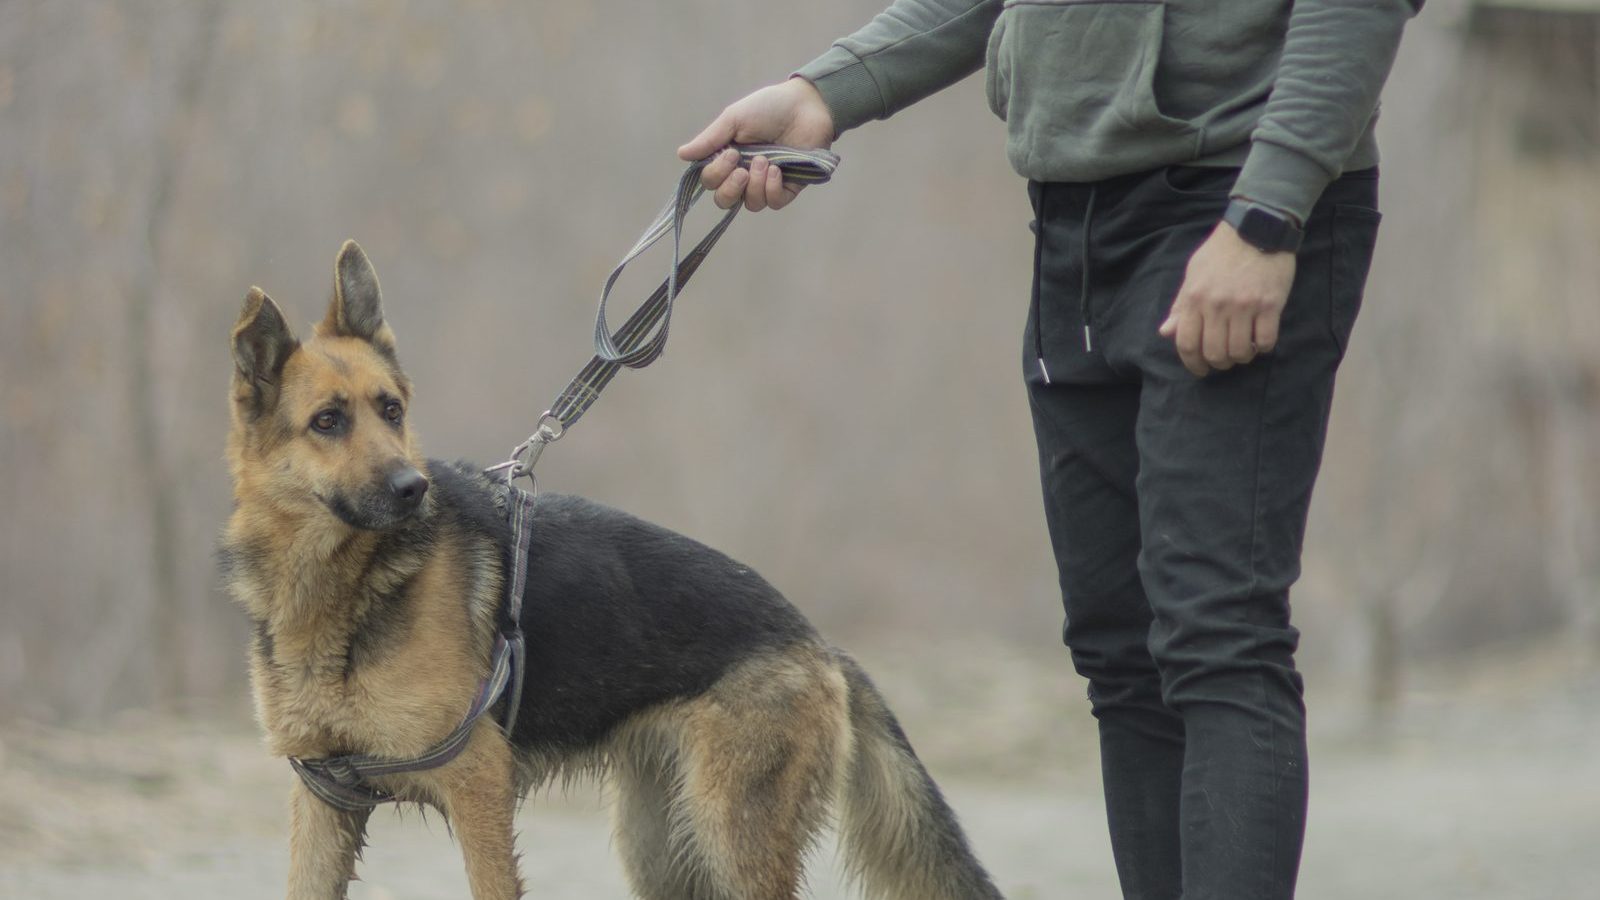
Short answer: two loops, four pieces of webbing, about an hour — and one measurement that matters
A martingale is a limited-slip collar: it tightens when a dog pulls, but only to the size of their neck, so it cannot choke. It stops a dog backing out of a collar — the classic escape route for a nervous Shepherd. The one thing you must get right is the stop point: the control loop should close so the collar sits snugly at neck size, never tighter. Here is the full pattern with measurements.
A martingale solves one specific and genuinely alarming problem: the dog who panics at something on a walk, reverses hard, and slips straight out of a flat collar into a road. Shepherds with a narrow-ish head relative to the neck can do it in about a second, and once they have learned they can, they try it again.
The design is elegant. A main loop that sits on the neck, plus a smaller control loop that draws the two ends together when the lead is tensioned — but only so far, because the stop point is built into the length. It tightens to snug and no further.
They are inexpensive to buy, but making one lets you match the fit to your dog exactly, choose your own webbing, and build in the adjustable slide that most cheap ones lack. This guide gives you the measurements, the materials, the stitching, and the safety rules that make the difference between a limited-slip collar and a choke.
A correctly made martingale cannot close smaller than your dog’s neck — that limit is the entire point of the design. A collar that closes further is a choke, whatever it is called, and this article is not a guide to making one. Get the control loop length right and check it every single time you fit it.
How a Martingale Works
Two loops. The main loop goes around the neck and is open at the top, with a D-ring at each end. The control loop is a shorter piece of webbing joining those two D-rings, with the lead ring sitting on it.
When the lead is slack, both loops hang loose and the collar sits comfortably on the neck. When your dog pulls or backs up, tension on the lead ring pulls the control loop straight, which draws the two D-rings towards each other and gently closes the main loop.
The crucial part is that the control loop runs out of travel. Once the D-rings meet, nothing more can happen. If you have sized it so that point corresponds to your dog’s actual neck measurement, the collar closes to snug and physically cannot go further.
The whole safety of the design lives in one measurement: how much slack the control loop allows. Too much and it becomes a choke; too little and it never tightens enough to prevent an escape. Get that right and everything else is sewing.
When to Use One — and When Not To
- A dog who has backed out of a flat collar, or nearly has
- Nervous or newly adopted dogs whose reactions you do not yet know
- A secure ID collar for a dog with a narrow head relative to the neck
- Somewhere to hang tags that will not slip off over the ears
- As a safety backup clipped to a harness on a double-ended lead
- Pulling — use a Y-front harness; a collar puts load on the trachea
- Long lines — harness only, always, without exception
- A dog with any neck, tracheal or spinal problem
- Unsupervised wear — the loop is a snag hazard
- Correction of any kind. It is an anti-escape device, not a training tool
Worth being clear on the pulling point, because it is the commonest misunderstanding. A martingale prevents escape; it does not teach loose lead walking, and using one on a heavy puller still puts significant force through the neck. For a German Shepherd who pulls, the answer is a Y-front harness plus training — with the martingale carrying the ID tags.
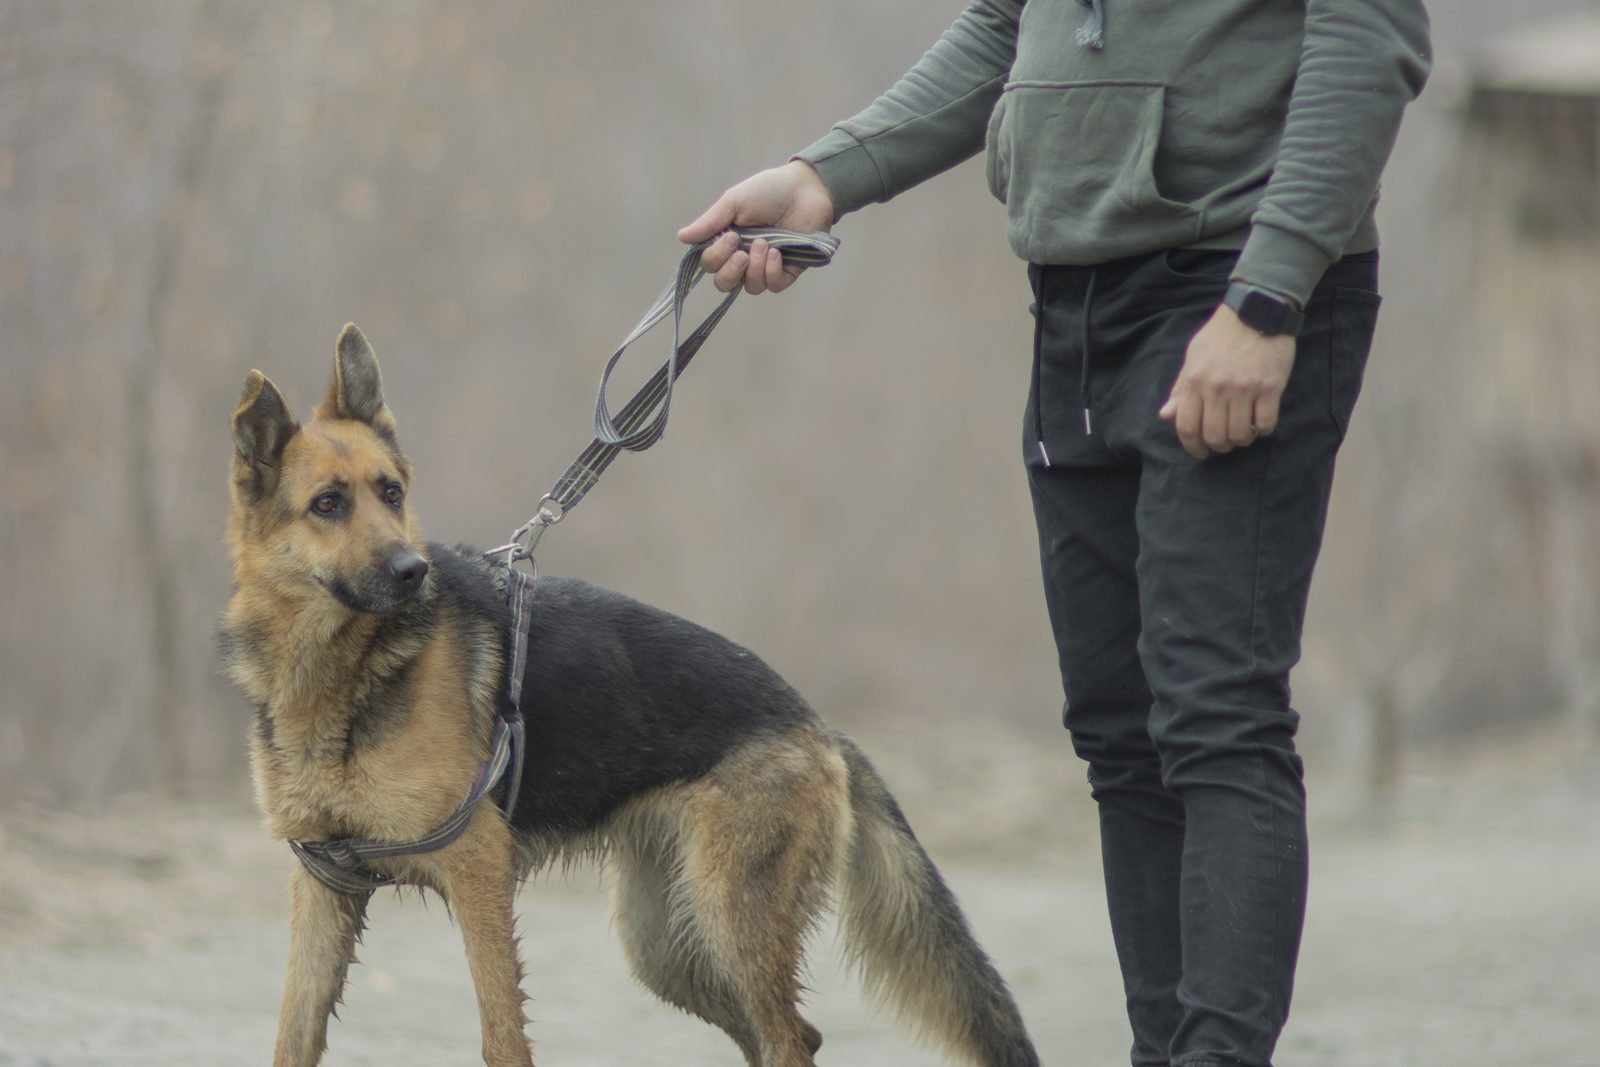
Materials and Tools
| Item | Specification for a German Shepherd | Notes |
|---|---|---|
| Webbing | 25 mm (1 in) polypropylene or nylon, about 1.2 m total | 25 mm spreads load properly on a large neck. Buy extra for practice |
| D-rings | Two welded 25 mm D-rings | Welded, not split — a split ring can open under load |
| Lead ring | One welded 25 mm D-ring or O-ring | This is the one taking the pull; do not economise here |
| Tri-glide slide | One 25 mm, for the adjustable version | Metal outlasts plastic considerably |
| Thread | Heavy-duty bonded nylon or polyester | Ordinary cotton thread will fail. This matters |
| Needle | Size 16–18 machine needle, or a heavy hand needle | A domestic machine will manage 25 mm webbing slowly |
| Tools | Sharp scissors, lighter, measuring tape, pins or clips, marker | Clips are better than pins — pins leave holes in webbing |
Measuring Your Dog
Two measurements, and both matter. Take them with a soft tape while your dog is standing.
- Neck measurement (N). Around the neck where a collar naturally sits, with two flat fingers underneath the tape. That two-finger allowance is part of the measurement, not something to add later. A typical adult German Shepherd is somewhere around 45–58 cm (18–23 in).
- Head measurement (H). Around the widest part of the head — usually just in front of the ears and across the cheekbones — and pulled over the ears as if removing a collar. This is the number that stops your dog escaping, and it is almost always larger than the neck.
Write both down. A martingale works precisely because the collar sits at head size when open and closes to neck size under tension — so a dog cannot reverse out of it, but never has anything tight around the throat either.
The Maths: Working Out Your Lengths
Work in the same units throughout. The example uses a dog with a neck of 50 cm and a head of 56 cm.
| Piece | Formula | Worked example |
|---|---|---|
| Main loop, total finished | Head measurement (H) | 56 cm |
| Control loop, finished | (H − N) ÷ 2, plus about 2 cm for the D-rings | (56 − 50) ÷ 2 = 3, + 2 = 5 cm |
| Main webbing piece | Main loop length − control loop travel, + 10 cm for folds | 56 − 6 + 10 = 60 cm |
| Control webbing piece | (Control loop × 2) + 10 cm for folds | (5 × 2) + 10 = 20 cm |
| Extra for adjustability | Add 15 cm to the main piece | 75 cm if making it adjustable |
Before you cut the good material, make a version with cheap webbing and no finishing — or even just pin it together — and try it on your dog. Check that when the control loop is fully closed the collar is snug but you can slide two flat fingers underneath. Adjust your numbers and only then make the real one. It saves a great deal of unpicking.
Cutting and Sealing the Webbing
- Cut both pieces to length with sharp scissors at a clean right angle.
- Seal every cut end by passing it briefly through a lighter flame until the fibres just melt. Polypropylene and nylon fray relentlessly otherwise, and an unsealed end will unravel through a stitch line.
- Do this in a ventilated space, keep the flame moving, and let the melted edge cool completely before touching it — it is genuinely hot.
- Press the softened end flat against a metal surface while it cools for a neater finish.
Building It, Step by Step
Attach the first D-ring to the main piece
Thread one end of the long webbing through a D-ring, fold back about 4 cm, and clip it in place. Make sure the webbing is not twisted — check the whole length now, because it is annoying to discover later.
Sew a box-X
Stitch a rectangle around the folded section, then two diagonals corner to corner, forming a box with a cross inside. Go over the whole thing twice. This is the standard load-bearing stitch and it is what the collar’s strength depends on.
Attach the second D-ring the same way
At the other end of the main piece, having first checked the finished loop length against your calculation. Measure twice — this length is what determines whether the collar can be pulled over the head.
Thread the control loop
Take the short piece. Thread one end through the first D-ring, then thread the lead ring onto the control webbing, then thread the other end through the second D-ring. The lead ring must be sitting on the control loop before you close it.
Check the travel before sewing
Clip the control loop ends at your calculated length and try the collar on your dog. Pull the lead ring: the collar should close to snug with two flat fingers underneath, and no further. Adjust before you commit.
Sew the control loop closed
Overlap the two ends by 4 cm and box-X stitch them together, twice. This joint takes the entire pulling load, so it should be the strongest stitch on the collar.
Load test it
Before it goes anywhere near your dog, hang your own body weight off the lead ring with the main loop over something solid. Any stitch that slips or gapes needs redoing now rather than at a kerbside.
Adding the Adjustable Slide
A fixed martingale fits one neck size. Adding a tri-glide slide lets you fine-tune it — useful for a growing dog, for coat changes between summer and a full winter ruff, and for getting the fit exactly right after the first few walks.
- Cut the main piece 15 cm longer than the fixed version.
- Sew the first D-ring on as normal.
- Thread the free end through the tri-glide — in through one side, around the centre bar, back out.
- Thread it through the second D-ring, then back through the tri-glide alongside the first pass.
- Fold and box-X the tail end so it cannot pull back out of the slide. This stop stitch is not optional.
- Re-check the closed fit after every adjustment. Changing the main loop changes how tight the collar closes, and that check has to be repeated every time.
An adjustable martingale is only as safe as the last time somebody checked the closed fit. Move the slide, do the two-finger test again — every time, without exception.
Fitting and the Critical Safety Check
| Check | What correct looks like | What to do if wrong |
|---|---|---|
| Loose, on the neck | Sits comfortably; you can move it slightly | Too loose to be useful — shorten the main loop |
| Fully closed | Snug, with two flat fingers underneath | Tighter than that: lengthen the control loop immediately |
| Over the head | Goes on easily when open | Too tight — lengthen the main loop |
| D-rings when closed | Meet or nearly meet at the top of the neck | Overlapping means the control loop is too long |
| Position | High on the neck, just behind the ears | Sitting low means it can still slip over the head |
| Escape test | Cannot be pulled off with steady backward pressure | Shorten the main loop by 2 cm and retest |
With the control loop fully closed, you must be able to slide two flat fingers between the collar and your dog’s neck. If you cannot, the collar is closing tighter than the neck and it is functioning as a choke. Lengthen the control loop before it is worn again. Check this on every fitting, after every adjustment, and after a coat blow when the neck ruff thins dramatically.
Safety Rules
- Never leave one on an unsupervised dog. The hanging control loop is a serious snag hazard — on crate bars, fencing, furniture and other dogs’ jaws during play. Swap to a flat collar at home.
- Never attach a long line. Harness only. A dog hitting the end of fifteen metres through any collar can injure their neck.
- Never use it to correct. No jerking, no popping. It is a limited-slip escape prevention device.
- Inspect the stitching weekly. Homemade equipment fails at the stitch line, and it fails without warning.
- Re-check the fit through a coat blow. A German Shepherd’s neck measurement changes noticeably twice a year.
- Not for dogs with neck or tracheal problems, or any dog your vet has advised against collar pressure for.
- Buy commercially made if you are unsure. There is no prize for making your own, and a proper one costs very little.
Variations
🔗 Chain control loop
A short length of chain instead of webbing. Runs more smoothly and is very durable, but noisier and heavier — some dogs dislike the sound at the ears.
🎀 Fabric covered
Cotton fabric sewn over the webbing for appearance. Purely cosmetic — the webbing underneath is still doing all the work, so do not compromise it.
🔓 With a side-release buckle
Added to the main loop so it does not need to go over the head. Convenient, but the buckle becomes the weakest point — buy a good one.
🌟 Reflective webbing
Reflective-stitched webbing costs a little more and is genuinely worth it on a dark dog for winter walks near roads.
Materials to Buy
25 mm nylon webbing with welded D-rings and tri-glide slides
Buy the hardware as a set rather than piecemeal — you want welded D-rings, because a split or brazed ring can pull open under the load a German Shepherd generates, and that failure happens at exactly the wrong moment. Choose 25 mm (1 inch) webbing: narrower webbing concentrates pressure on a large neck, and wider is unwieldy. Get several metres, because your first attempt will teach you something about your measurements and you will want to make a second.
- Welded rings will not open under load
- 25 mm spreads pressure properly on a large neck
- Enough material to prototype before cutting the good piece
- Reflective webbing options for dark winter walks
- Costs about the same as one shop-bought collar
See webbing and hardware on Amazon →
Before it goes on your dog: hang your own weight off the lead ring and check every stitch line. Homemade equipment fails at the stitching, and you want to discover that in your kitchen rather than beside a road.
| Item | Why it earns its place | What to look for | Find it |
|---|---|---|---|
| Webbing and hardware | The collar itself | 25 mm, welded rings, tri-glides | See options → |
| Bonded nylon thread | Ordinary thread fails at the stitch line | Heavy-duty, UV stable | See options → |
| Y-front harness | What you should actually walk a puller on | Dual clip, sized on chest girth | See options → |
| Ready-made martingale | If you would rather not sew load-bearing seams | Wide, padded, welded hardware | See options → |
| Double-ended lead | Martingale as a backup clipped to a harness | 2 m, two trigger clips | See options → |
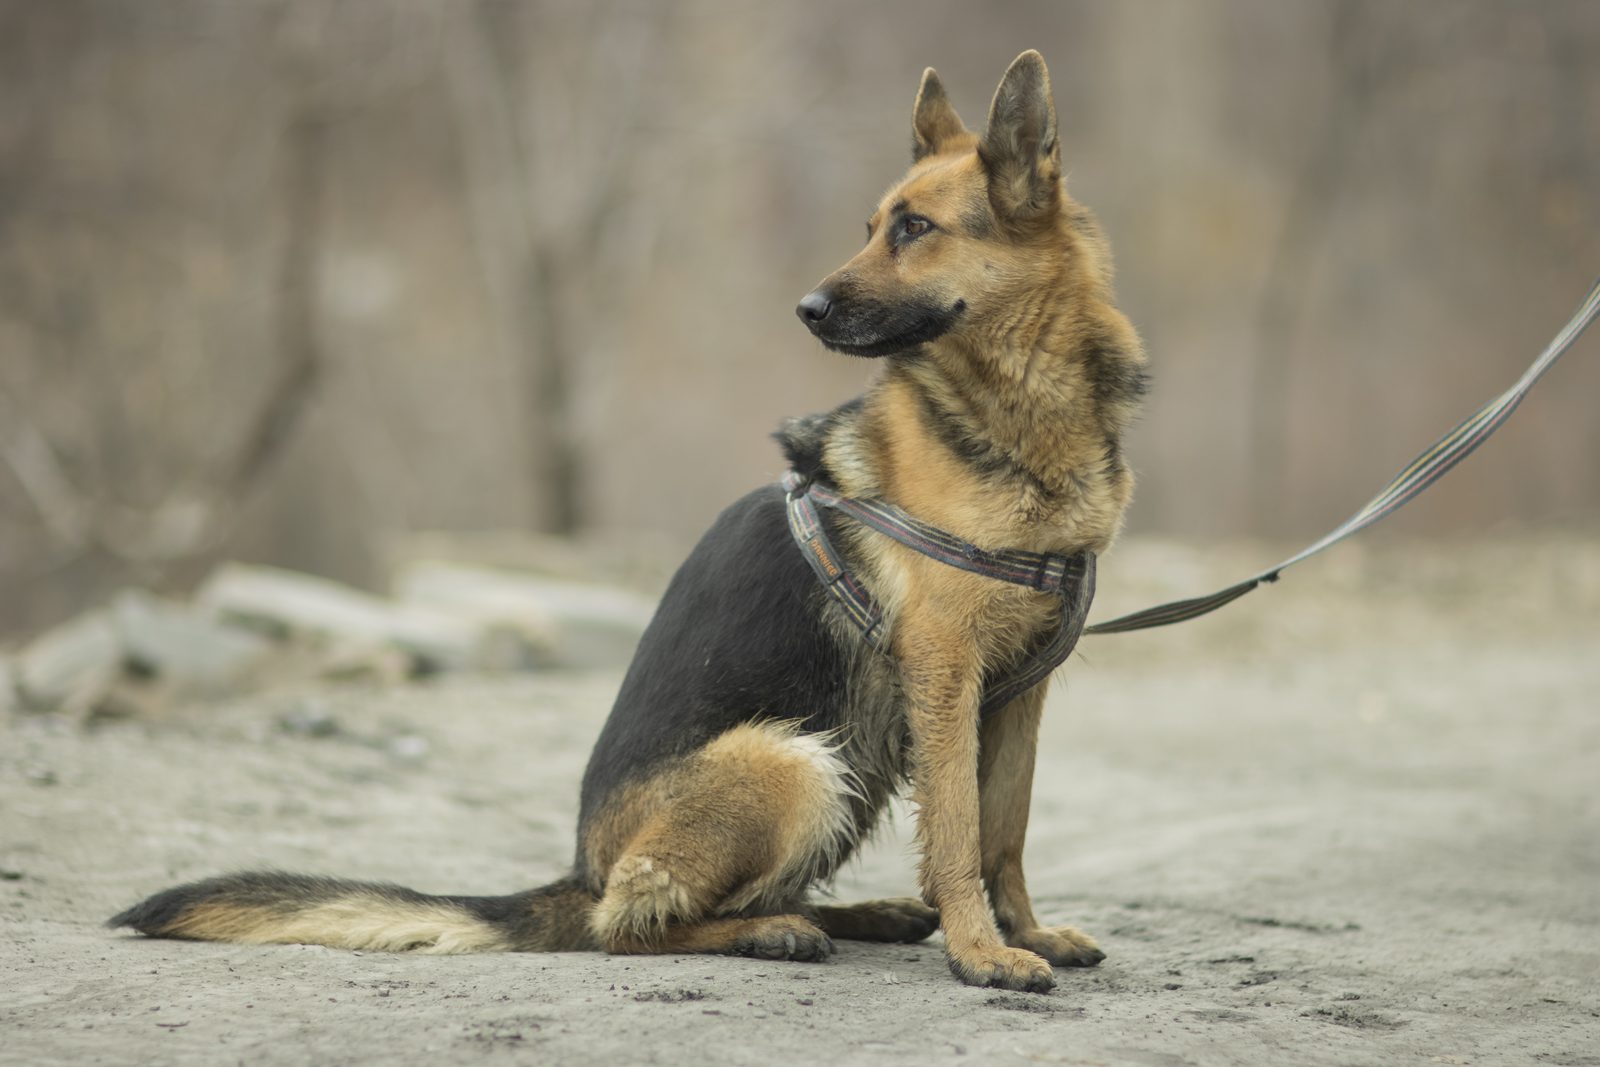
7 Mistakes (and the Fix for Each)
The fix: two flat fingers under the collar when fully closed. Anything tighter is a choke, and the collar must be lengthened before it is worn again.
The fix: keep two fingers under the tape as you measure. Skipping this produces a collar that closes tighter than it should.
The fix: welded only. A split or brazed ring can open under the force a German Shepherd generates, and it does so without warning.
The fix: heavy-duty bonded nylon, box-X stitched twice. This is load-bearing equipment; the thread is the part that fails.
The fix: melt every end with a lighter. Unsealed webbing frays and the fraying travels into the stitch line.
The fix: flat collar indoors. The hanging loop catches on crates, fences, furniture and other dogs’ jaws during play.
The fix: Y-front harness and training. A martingale prevents escape; it does nothing about pulling and still loads the neck.
Frequently Asked Questions
What is a martingale collar and how does it work?
It is a limited-slip collar with two loops: a main loop around the neck and a smaller control loop joining its two D-rings. Tension on the lead draws the D-rings together and gently closes the main loop — but only until the control loop runs out of travel, so a correctly sized one closes to neck size and cannot tighten further.
Are martingale collars safe for dogs?
Yes, when correctly sized. The safety depends entirely on the control loop length: with it fully closed you must be able to slide two flat fingers under the collar. If you cannot, it is functioning as a choke. Never leave one on an unsupervised dog, and never attach a long line to it.
How do I size a martingale collar for a German Shepherd?
Measure the neck with two flat fingers under the tape, and the widest part of the head pulled over the ears. The main loop should equal the head measurement so it goes on easily; the control loop should allow the collar to close to exactly the neck measurement and no further. Prototype in cheap webbing first.
Will a martingale stop my dog pulling?
No. It prevents a dog backing out of a collar, which is a different problem. Using one on a heavy puller still puts significant force through the trachea and cervical spine. For pulling, use a Y-front harness and train loose lead walking — and let the martingale carry the ID tags.
Can I attach a long line to a martingale?
No. Long lines attach to a well-fitted harness only, never to any collar. A German Shepherd reaching the end of a ten or fifteen metre line at full speed generates enough force through the neck to cause serious injury, and a martingale does not change that.
What webbing should I use for a large dog collar?
25 mm (1 inch) nylon or polypropylene webbing. Narrower webbing concentrates pressure on a large neck and wider becomes unwieldy. Pair it with welded D-rings rather than split ones, and use heavy-duty bonded nylon thread — ordinary sewing thread will fail at the stitch line.
✅ Your Build Checklist
- Neck measured with two flat fingers under the tape
- Head measured at the widest point, over the ears
- Lengths calculated from the formulas
- Prototype made in cheap webbing and tried on
- 25 mm webbing, welded D-rings, metal tri-glide
- Heavy-duty bonded nylon thread
- All cut ends melt-sealed
- Webbing checked for twists before stitching
- Box-X stitched twice at every joint
- Lead ring threaded on before closing the control loop
- Load tested with your own body weight
- Two flat fingers under the collar when fully closed
- Escape test passed with steady backward pressure
- Sits high on the neck, behind the ears
- Stitching inspected weekly
- Removed indoors and for unsupervised time
- Fit re-checked after each coat blow
The Bottom Line
A martingale is a genuinely clever piece of design that solves one real problem — the dog who reverses out of a flat collar at the worst possible moment — and it is well within reach of an hour at a sewing machine.
Everything hinges on one number. The control loop must let the collar close to your dog’s neck size and no further, verified with two flat fingers, checked every time you fit it. Get that right and you have a limited-slip collar. Get it wrong and you have made a choke chain out of webbing.
And keep the job clear. This is escape prevention, not pulling prevention. Walk your German Shepherd on a Y-front harness, let the martingale carry the tags, clip both to a double-ended lead if you want a proper backup — and take it off when you get home.
- Harness vs collar — what each is actually for
- Loose lead walking — the fix for pulling
- Shock collars — what the evidence says and safer alternatives
- Recall training — long lines and how to use them safely
Recommended German Shepherd gear for this guide
Heavy-duty German Shepherd crate (42")
Best for: Crate training and safe rest
- Sturdy build
- Double-door access
- Removable tray
Affiliate link — we may earn a commission, at no cost to you.
Orthopedic large dog bed (memory foam)
Best for: Joint comfort and stretch-out sleep
- Pressure relief
- Washable cover
- Non-slip base
Affiliate link — we may earn a commission, at no cost to you.
No-pull German Shepherd harness
Best for: Calm leash walks for strong adult GSDs
- Front + back clip
- Padded chest plate
- Reflective trim
Affiliate link — we may earn a commission, at no cost to you.

Keep reading
More in Gear & Reviews →
Dog Collar Bells: Wildlife Safety, Noise and When They Help
Where collar bells genuinely work, why the wildlife protection claim does not transfer from cats to dogs, the…
Harness vs Collar for a German Shepherd: Which Should You Use?
What is in a dog's neck and why it matters, harness types compared, the truth about harnesses teaching…
Best Dog Houses for German Shepherds: Sizing, Warmth and Safety
The sizing formula and why bigger is colder, what actually keeps a dog warm, insulation and raised floors,…